|
Summary
Deleting a stylus will remove from the database all information regarding position and
size. Caution should be taken when deleting a stylus from the database. Geomet will mark
any styli missing as Pre-Qualify when opening an inspection that requires the deleted tip.
Delete a Single Stylus
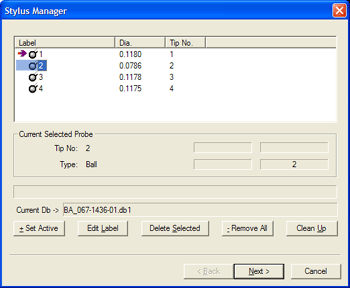
Activating the Stylus Manager can be done through the use of the 'w' keystroke or
through the drop down menus [Qualify→Stylus Manager], see figure 1.
|
 |
|
figure 1, Stylus Manager |
The Stylus Manager will display all current, qualified stylus and pre-qualified stylus.
The current active stylus is shown with an arrow located next to it.
Step 2

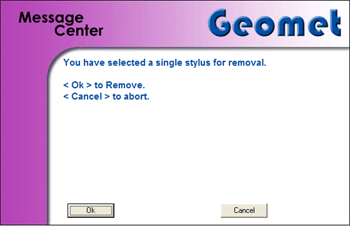
Highlight the desired stylus to delete and click on the <Delete
Selected> button, or press the <Alt + s> key on the keyboard. You will be prompted to confirm your
request.
|
 |
|
figure 2,
Confirm Stylus Removal |
To confirm the deletion of the selected stylus, click on the <Ok>
button on the warning message, or <Cancel> to abort.
Hint: To navigate through the qualified stylus, you can use the
Up and Down Arrow keys.
Step 1
Activating the Stylus Manager can be done through the use of the 'w' keystroke or
through the drop down menus [Qualify→Stylus Manager].
Step 2

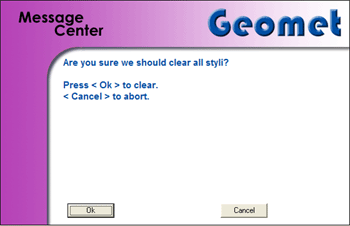
With no stylus highlighted in the selection, click on the <- Remove All> button
or press the '-' <minus> key on the keyboard.
|
 |
|
figure 3,
Confirm Stylus Removal |
You will be prompted to confirm you
request. To confirm the deletion of the selected stylus, click on the <Ok>
button to proceed, or the <Cancel> button to abort.
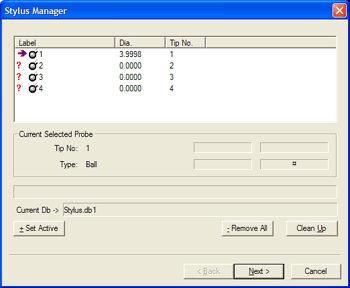
Pre-Qualified stylus are inserted into the stylus database only when opening a previous
part inspection file that uses stylus that are not currently part of the active stylus
database. For example, if a part inspection was done that required the use of stylus
numbers 1, 2, 3, and 4 those references are stored in the part inspection file. Should
the current stylus database be changed to have only one stylus, numbers 1
that has been qualified
when the part inspection file was opened, Geomet would insert stylus 2, 3 and
4 and mark them
as pre-qualified with a '?' next to
each one. You will not be allowed to proceed with the inspection without first
qualifying stylus 2 through 4.
|
 |
|
figure 4,
Pre-Qualified Styli |
In some cases, you may want to eliminate these Pre-Qualified styli from
the Stylus Manager. To perform this deletion, use the <Clean Up>
button.
Step 1
Activating the Stylus Manager can be done through the use of the 'w' keystroke or
through the drop down menus [Qualify→Stylus Manager].
Step 2

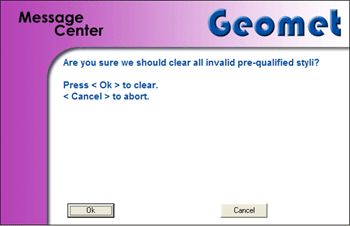
Select the <Clean Up> button and the Stylus Manager will prompt
you with a message to confirm your selection.
|
 |
|
figure 5, Stylus Manager - Remove all
Pre-Qualified Stylus |
Press <Ok> to remove all Pre-Qualified styli, or <Cancel>
to abort.
Related Procedures:
Stylus Manager,
Choosing a Stylus,
Qualifying a Stylus,
Re-Qualifying a Stylus,
Labeling Styli,
Duplicate a Stylus,
Stylus db Manager,
Stylus Edit
Control, Measuring with Multiple Styli
|
