|
|
|
Command Activation
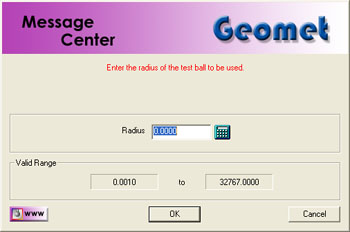
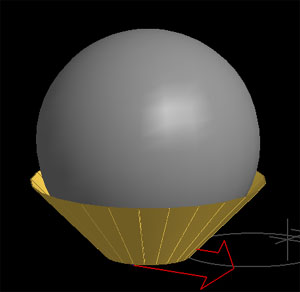
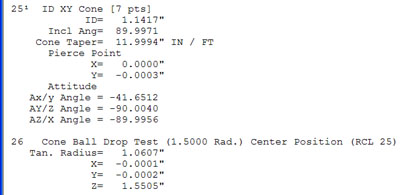
The Cone Drop Ball Test is used to place a test ball in a cone and
calculate the diameter and position where the ball intersects with the cone.
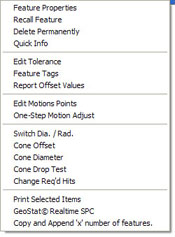
When you have measured the cone, the right click on the cone in the
inspection report to activate the sub menu. From the submenu commands,
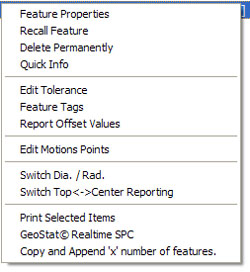
choose [Cone Drop Test]. This will activate the Cone Drop Ball
Tool, see figure 1.
|
Enter the radius of the ball that will be dropped into the open end of the
cone.
 |
| figure 1, Drop Ball
Tool |
 |
| figure 2, Graphic Results |
In the example shown in figure 2, The test ball is shown fitted into the
open end of the cone. This diameter where the test ball touches the cone and
it's XYZ position can have a tolerance applied
to it and be used in constructions.
 |
| figure 3, Reported Cone
Diameter |
By default the results of the calculation is the XYZ
position of the center point of the ball and its diameter on the cone
where it makes contact. The reported position can be switched to the top
of the ball by right clicking on the Drop Test record and from the sub
menu choose [Switch Top ↔ Center Reporting].
|
Related Procedures:
Auto-Direction,
Origin,
System
Options,
Introduction to Tolerance,
Tolerance
Cones, Motion Edit,
Disable Motion,
Cone Offset
|
| |
|
|